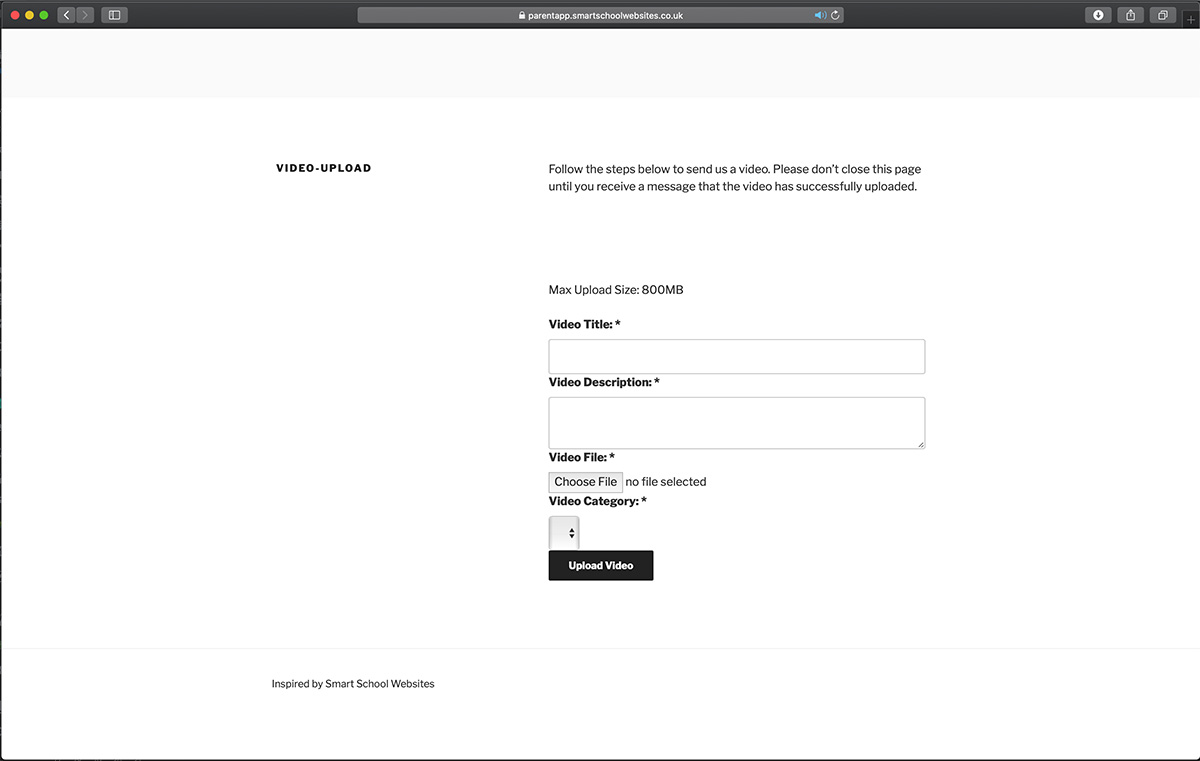
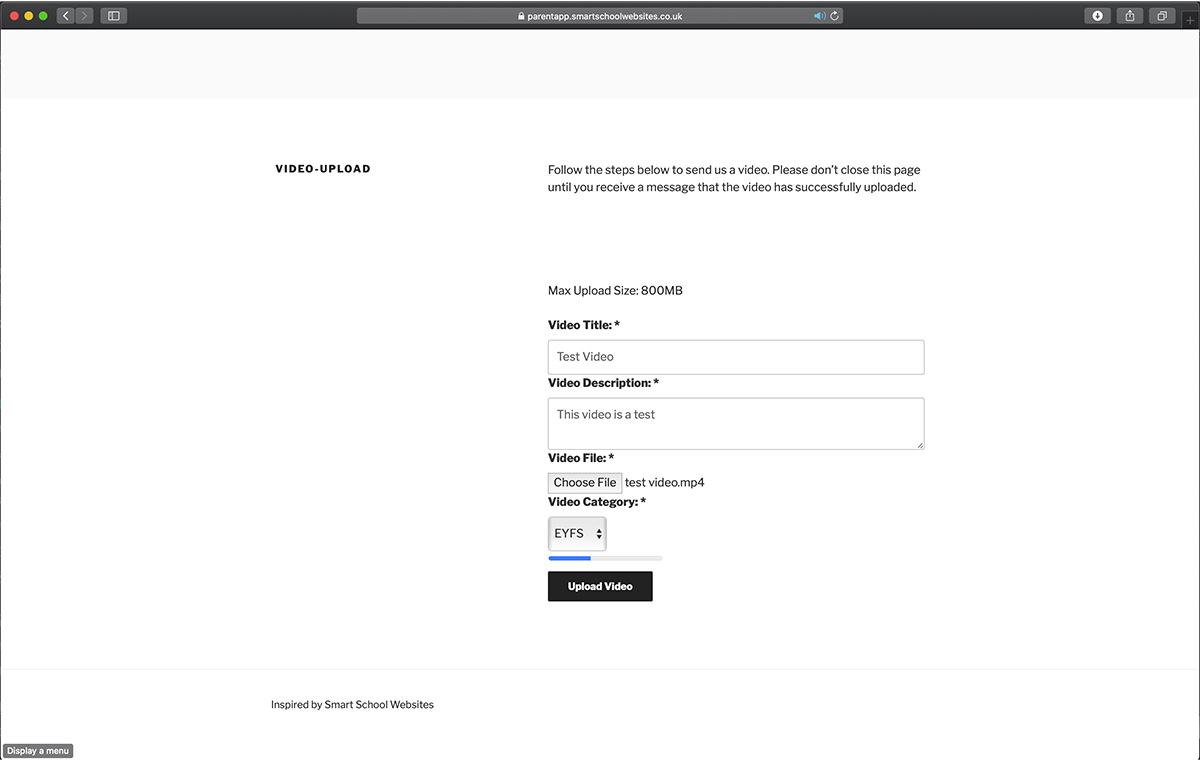
Head to the video upload page, this is generally your website address with /video-upload added to the end. This page may be password protected if you would like parents to be able to send video into school.
Step 1
Step 2
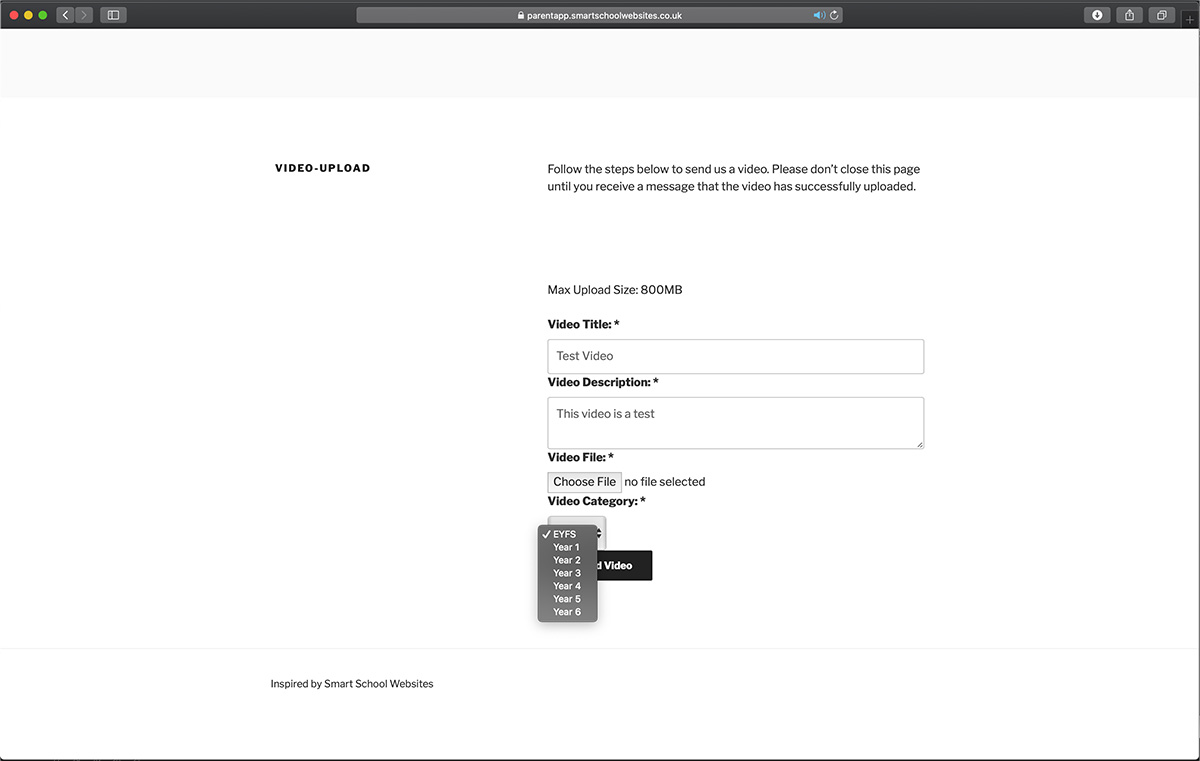
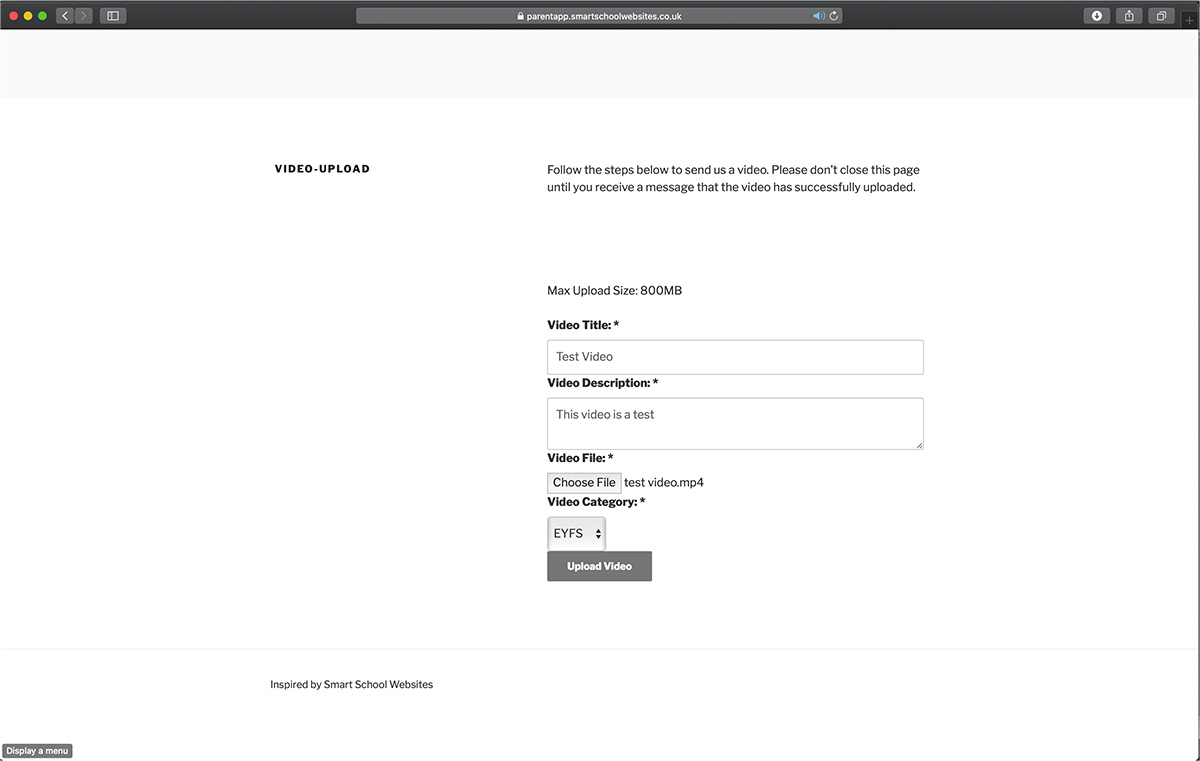
Add the details for video title and description. Also, add a category.
Step 3
Click choose file, and navigate to the file you want to upload. If using a device, you will be prompted to either take a video, or upload one from the device’s camera roll.

Step 4
When all the fields have been completed, press upload video.
Step 5
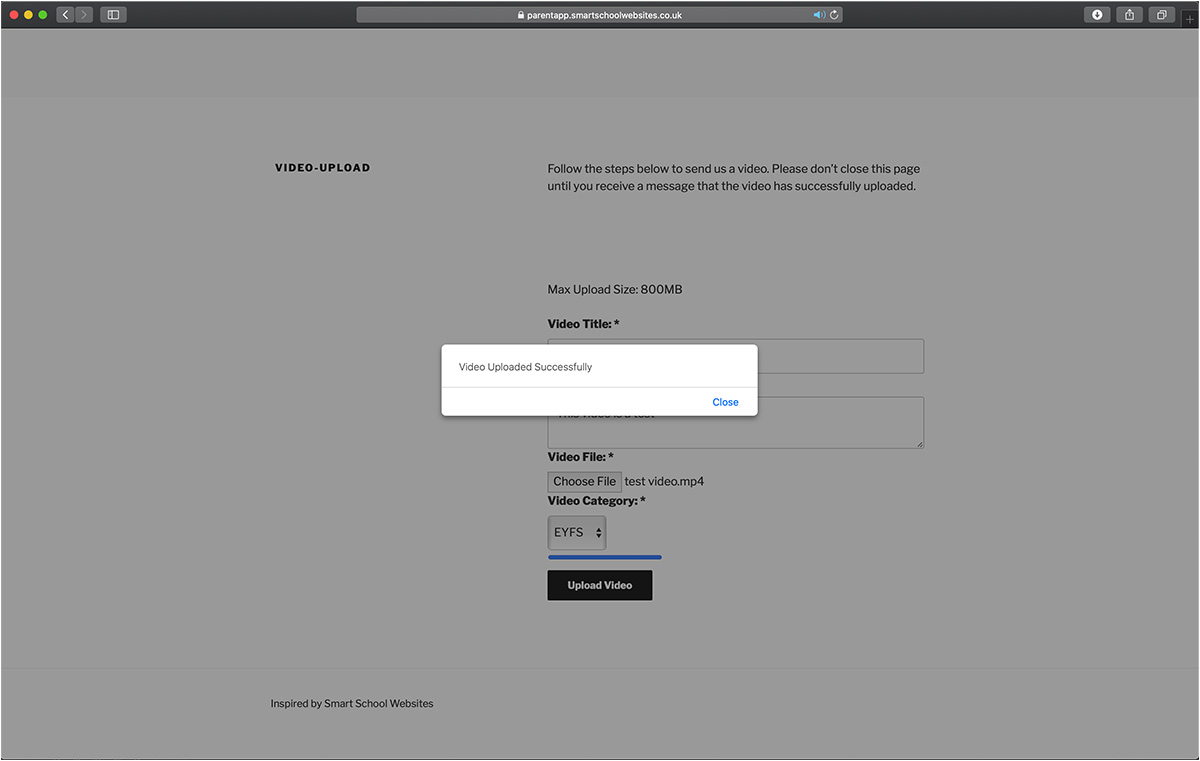
The video is then uploaded, please don’t close the window until the video has completely uploaded.
Step 6
When the video upload has completed, the following message is displayed. The video is then sent to Vimeo to be processed.
Step 7
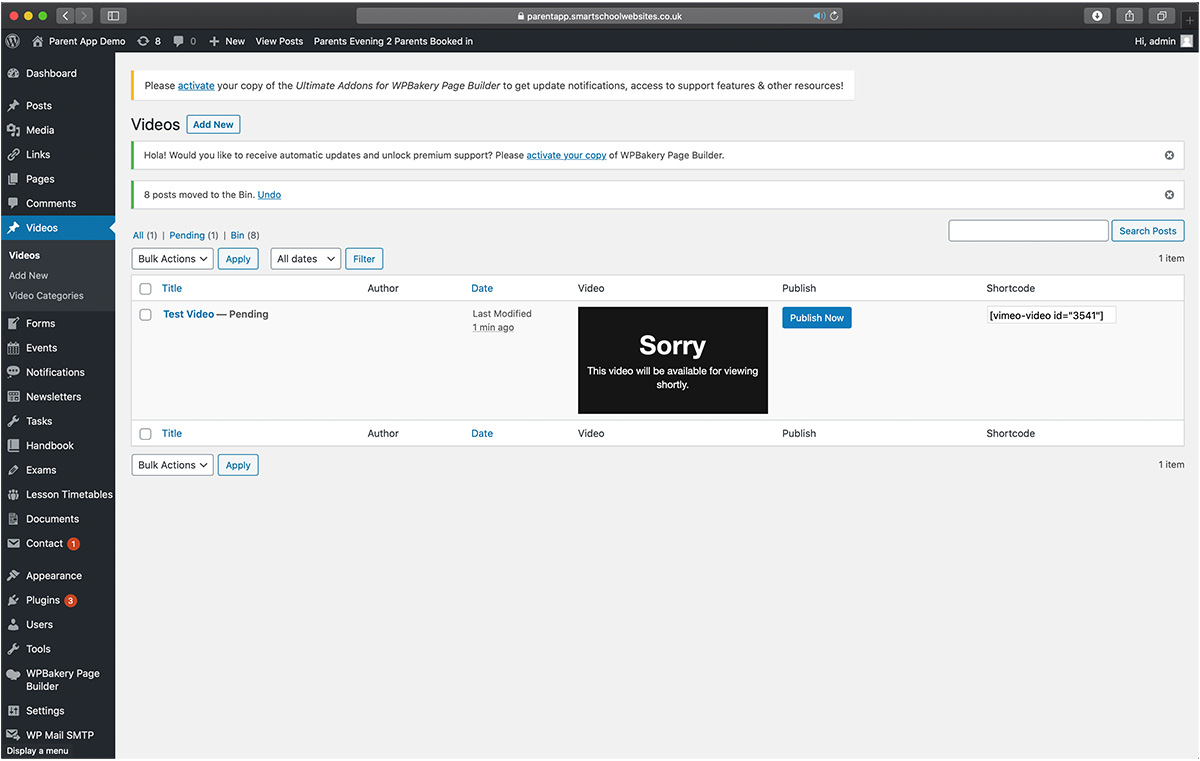
When uploaded, you can log in to the school website admin area, click on videos on the left hand side. Here all videos that have been uploaded are listed. This current video has just been uploaded and is being processed by vimeo.
Step 8
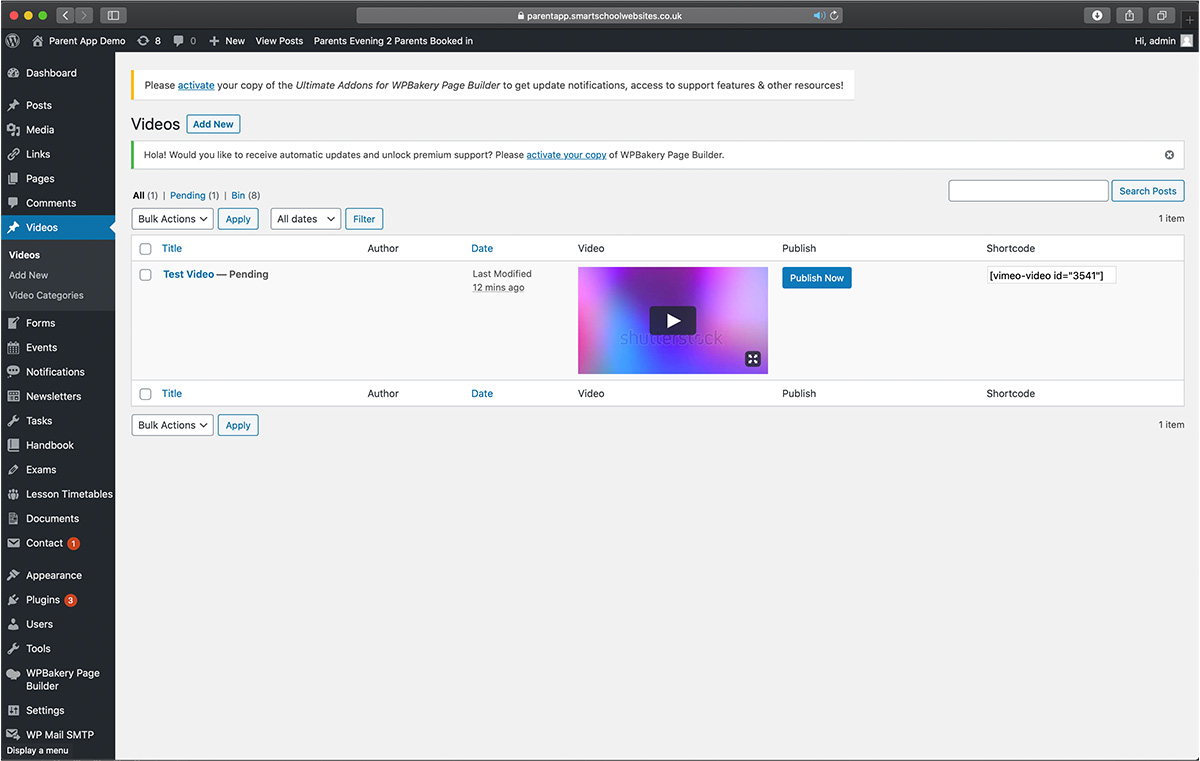
When processing has completed, the video can be played in the admin area to ensure that it is suitable for the website/app and doesn’t include any students who don’t have photo/video consent.
If the video is ok to be used, press ‘publish now’.
Step 9
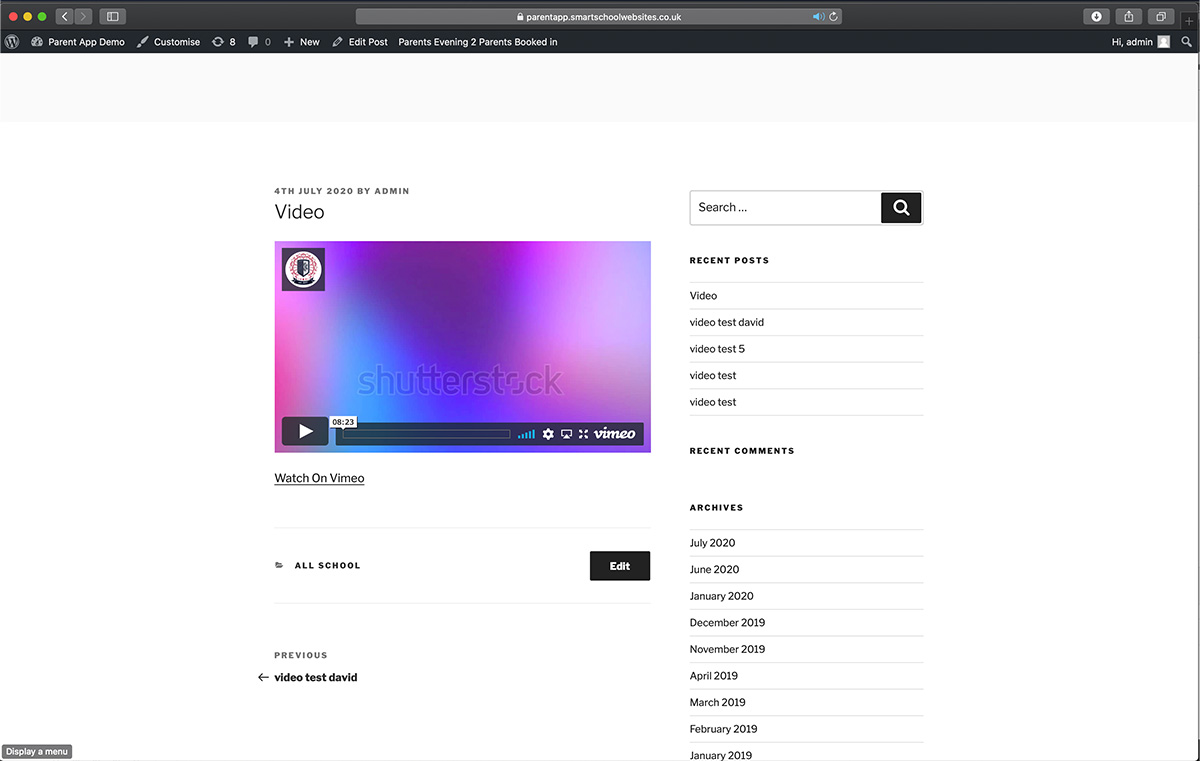
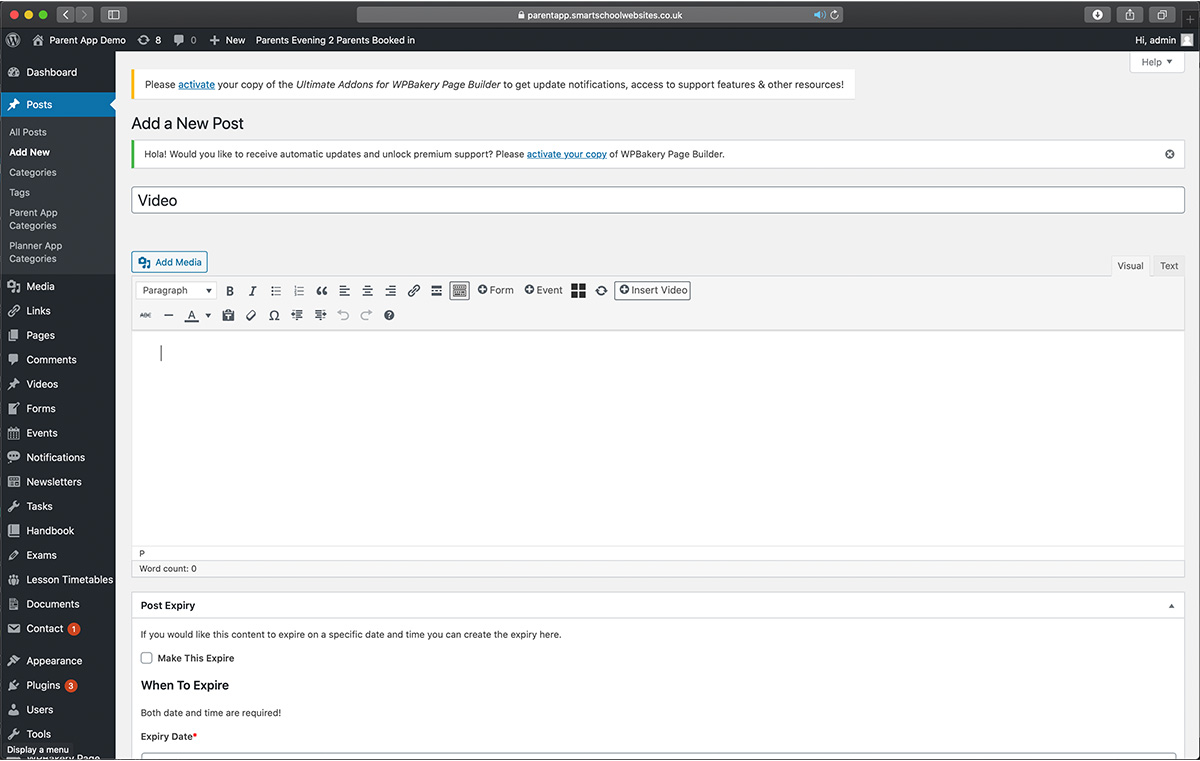
Now the video has been published, it can be used across the website/app. The below example shows the video being inserted into a post. The steps are the same regardless where the video is inserted.
Click the ‘Insert Video’ button at the top of the editor.
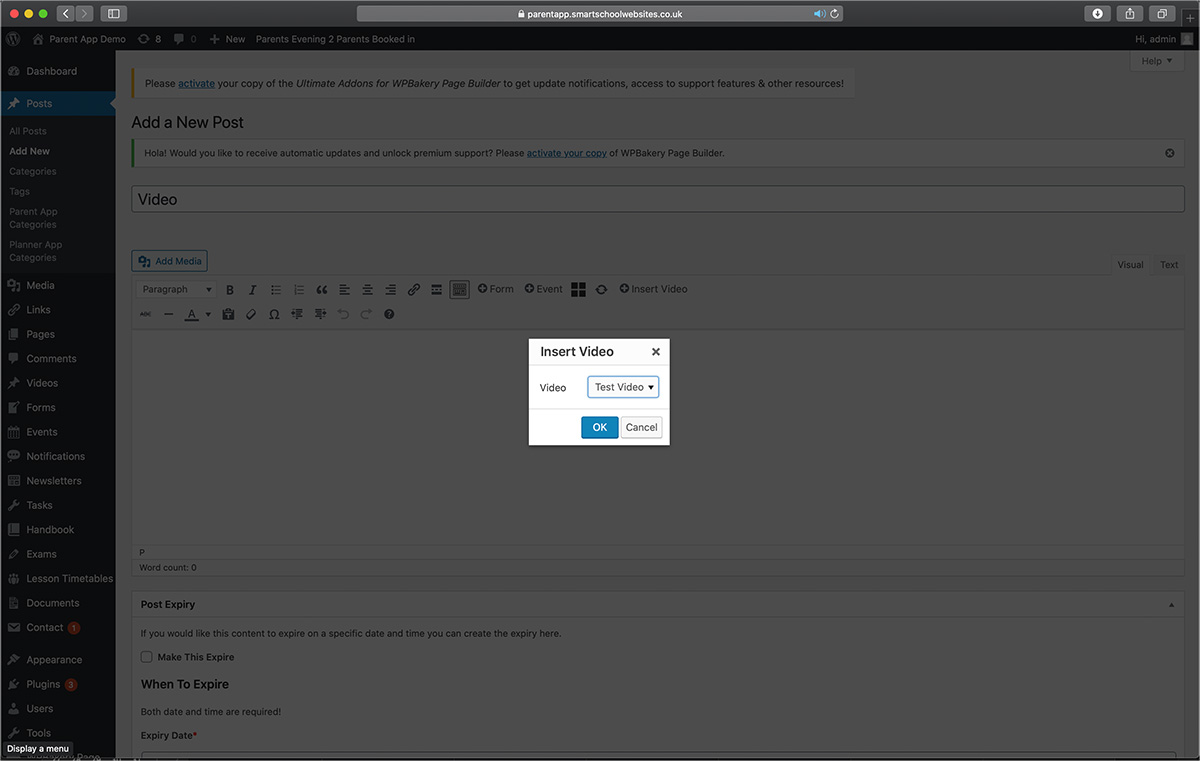
Step 10
Select the video you want to insert into the post from the drop down list that appears.
Step 11
When saved, you can view the post with the video in it.